Connector Agent - Windows
Follow the steps below to install the Dull Connector Agent to a Windows device. Note - you will need two downloads.
1. Download the Connector Agent.
There are two versions you can choose from: Stable, which is bug free however maybe lacking some of the latest features and Latest, which has all the latest features but there maybe some edge cases which cause it to fail.
Windows Downloads
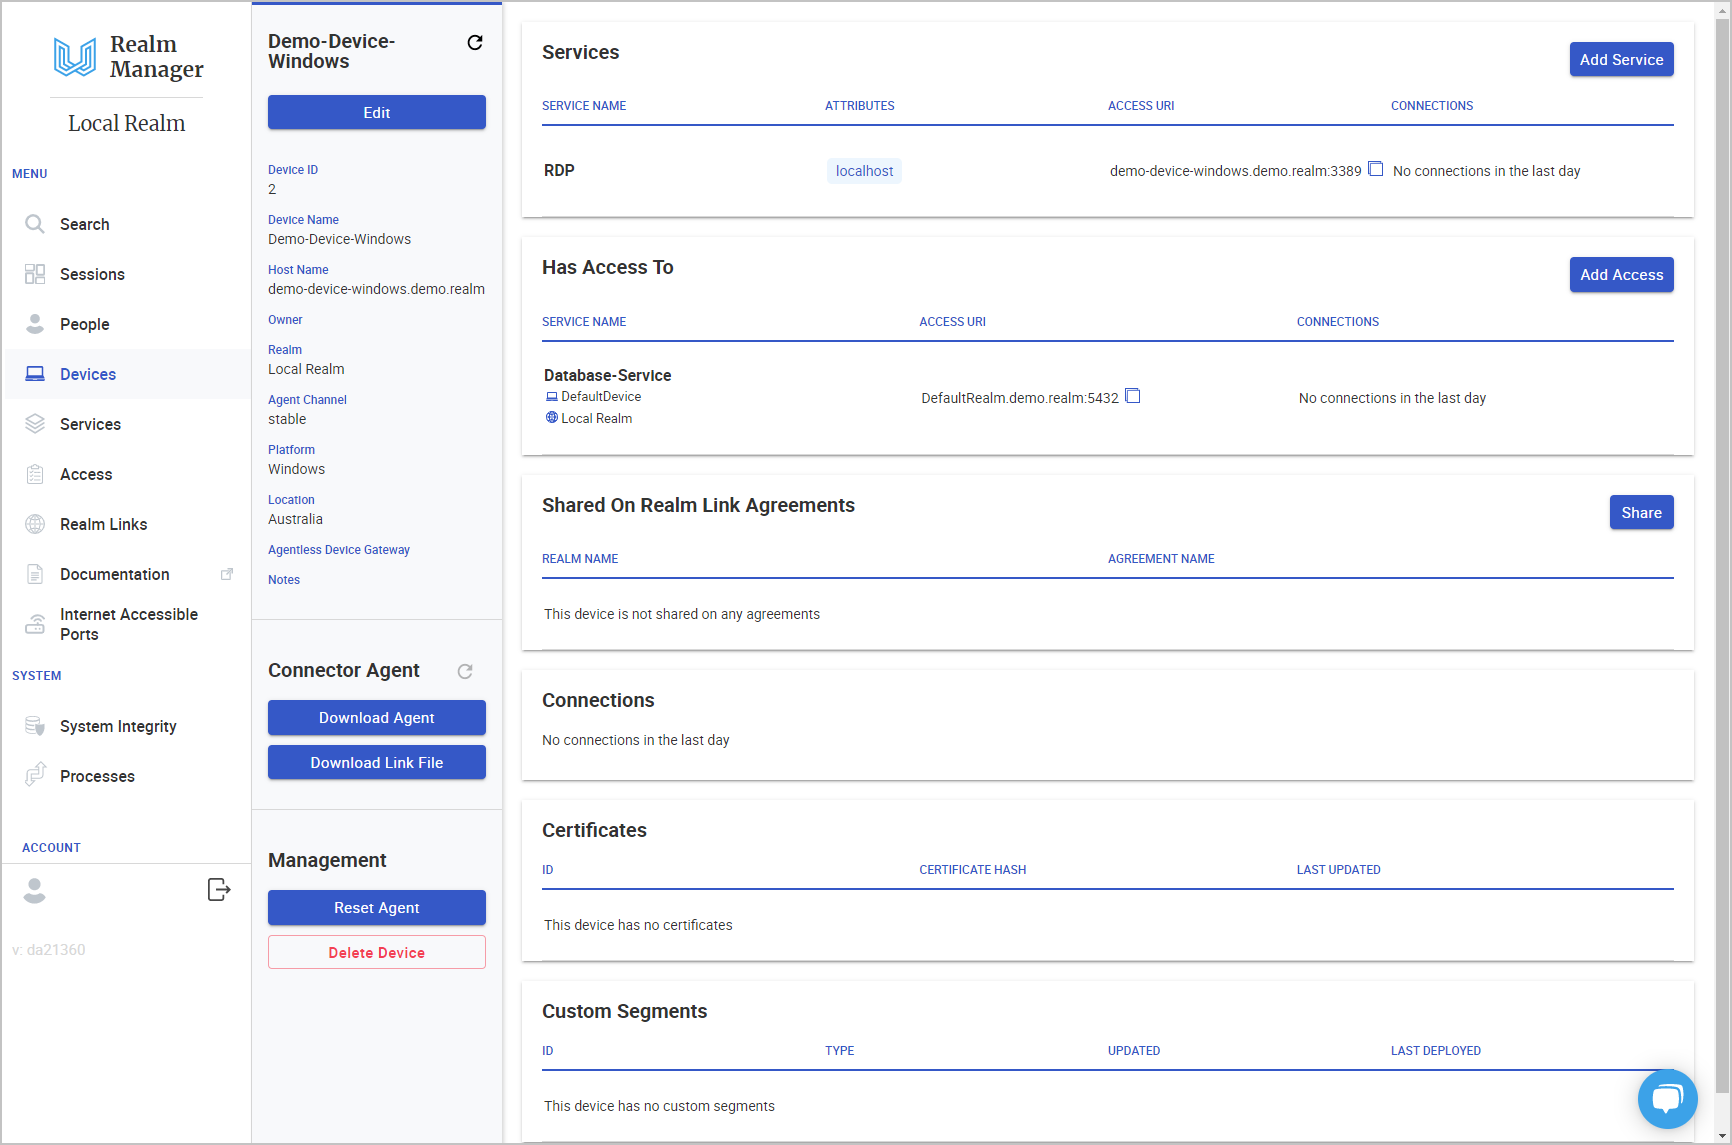
2. Before you install it, you need the link file. In Realm Manager, click Devices in the menu.
3. Select the device that you want to install the agent on.
4. Click the Download Agent button to download the Dull Connector agent installer.
5. Click the Download Link File button under Connector Agent to download the Link File, in this example local-realm-nobody-demo-device-windows-d2-t20220818-055512.connector-link.
6. Copy both the Link File and the installer to the device you want to run the agent on. Use the remote access method that you are currently using to achieve this.
Only the Link File is unique for each device. You can reuse the installer on any Windows device that you are installing the agent on.
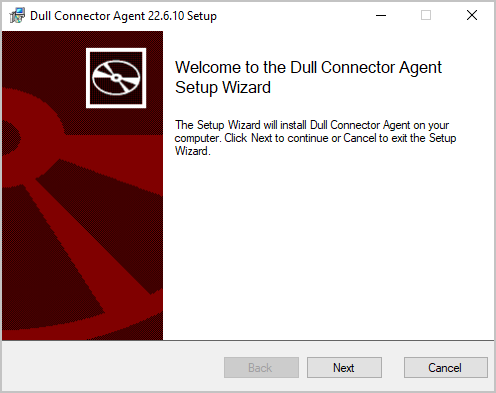
7. Run the installer. The installer requires Administrator privileges. If asked:
Do you want to allow this app to make changes to your device?
Click Yes.
8. Click Next.
9. Read and accept the terms in the License Agreement. Click Next.
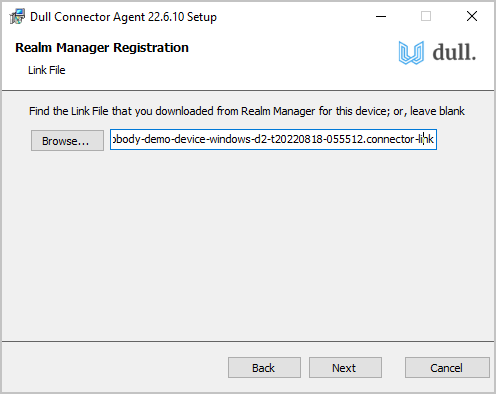
10. You will now be prompted to select the Link File. Click on the Browse button.
Then, find the Link File that you have downloaded from the device's details page earlier.
11. Click Next to continue and finish the installation.
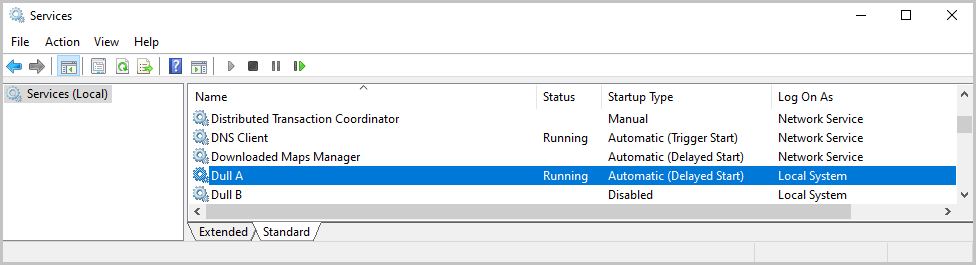
12. To confirm if the Connector Agent was installed and is already running, open the Services Management Console (services.msc).
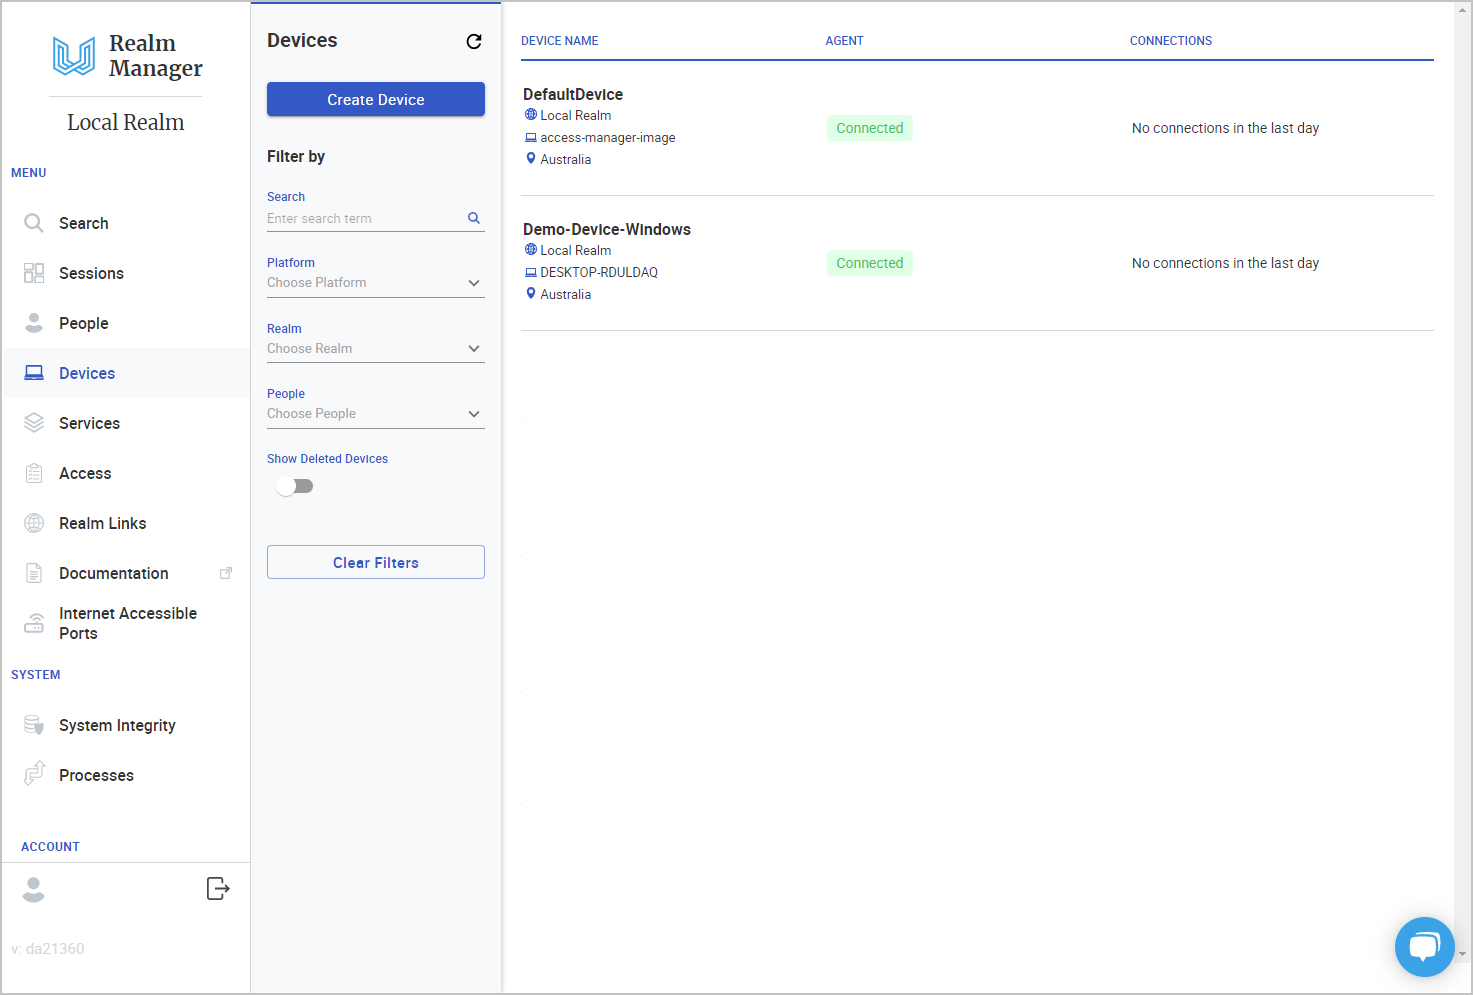
13. Return to devices page and see if the device is connected.
That's how easy it is to install the Connector Agent in Windows.
Last updated